Want to turn your website's images into a passive traffic-driving machine? Adding Pinterest Save buttons is one of the highest-impact changes you can make. It empowers visitors to share your content on a platform designed for discovery, creating a long-lasting source of growth.
In this guide, we'll break down three methods for adding Pinterest Save buttons to your website, complete with realistic difficulty levels, time estimates, and the pros and cons of each.
What is a Pinterest Save Button?
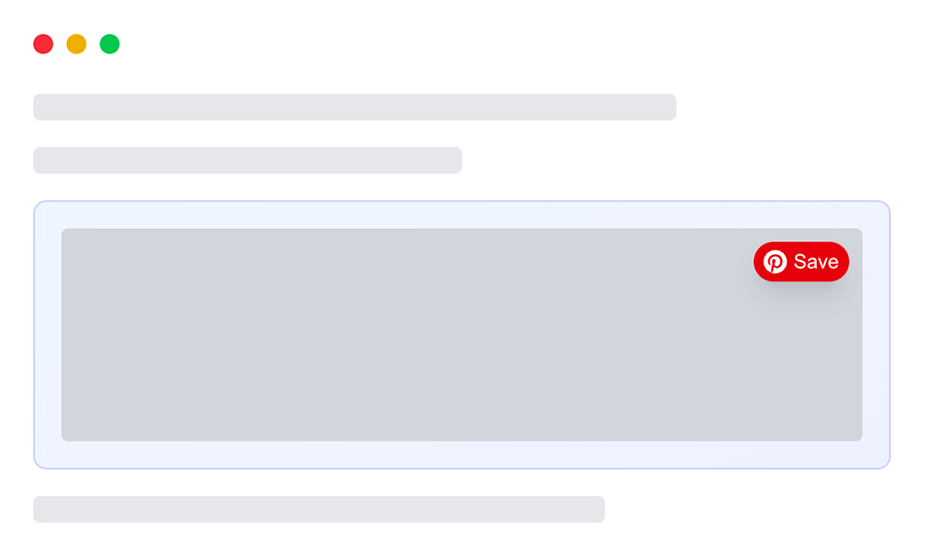
A Pinterest Save button (previously known as a "Pin It" button) is a small interactive element that appears on your website, allowing visitors to instantly save your content to their Pinterest boards. When clicked, it opens Pinterest's save interface with your image URL and website URL pre-populated.
Why Add a Pinterest Save Button? (It's More Than Just a Button)
Before diving into the how, let's talk about the why. A Save button does more than just share an image—it creates a powerful growth mechanism:
Improves User Experience: You make it effortless for visitors who already love your content to save it for later reference. Instead of taking screenshots or bookmarking, they can organize your content properly on Pinterest.
Drives Long-Term Traffic: Unlike other social platforms, Pins have a long lifespan, driving traffic for months or even years. Our Pinterest growth case study saw an 800k+ impression increase in just six months from this simple change.
Turns Visitors into Advocates: Every person who saves your content introduces it to their network organically. This creates a compounding effect where your best content naturally spreads to people genuinely interested in your niche.
Three Methods to Add Pinterest Save Buttons to Your Website
Method 1: The Official Pinterest Widget Builder
This is Pinterest's standard implementation—reliable, officially supported, and straightforward to implement. Read more about the official Pinterest widget
Best for: Content creators and small businesses who want a quick, maintenance-free solution
Difficulty: Beginner to Intermediate
Time Estimate: 10-15 minutes
Pros:
- Official and always up-to-date with Pinterest's API.
- Simple to implement with basic copy-paste.
- Multiple button styles available (hover, static, custom).
Cons:
- Limited design customization options.
- Generic appearance that may not match your brand.
- No analytics on button performance.
Implementation Steps:
Step 1: Add Pinterest's JavaScript SDK
Add this script to your website's
<head> section once per page:<script
type="text/javascript"
async
defer
src="//assets.pinterest.com/js/pinit.js"
></script>
Step 2: Enable Hover Buttons (Recommended)
For automatic hover buttons on all images, add the
data-pin-hover attribute:<script
type="text/javascript"
async
defer
src="//assets.pinterest.com/js/pinit.js"
data-pin-hover="true"
></script>
Step 3: Check Your Images
Save buttons only work on images with a source URL. If you want to provide a higher-quality version of the image (for example, without text overlays, watermarks, or branding), you can use the data-pin-media attribute.
<img
  src="chocolate-chip-cookies.jpg"
  alt="Homemade chocolate chip cookies with sea salt on cooling rack"
  data-pin-media="chocolate-chip-cookies-high-quality.jpg"
/>
Pro Tip: Add
data-pin-nopin="true" to images you don't want pinned (like logos or UI elements).Method 2: Custom-Coded Solution
For developers who need complete control over functionality and appearance.
Best for: Developers, agencies, and businesses with specific branding requirements
Difficulty: Intermediate to Advanced
Time Estimate: 30-60 minutes
Pros:
- Complete control over button design and animations.
- Custom analytics and event tracking integration.
- Ability to add advanced features like A/B testing.
Cons:
- Requires coding knowledge to implement and maintain.
- More complex implementation and debugging.
- You are responsible for adhering to Pinterest's brand guidelines.
Implementation Steps:
Step 1: Create the HTML Structure
Wrap your image in a container that will hold both the image and the button.
<div class="pin-container">
  <img src="your-image.jpg" alt="A descriptive alt text for your image" />
  <button
    class="pinterest-save-btn"
    onclick="pinImage('your-image.jpg', 'A descriptive alt text')"
  >
    <svg width="20" height="20" viewBox="0 0 24 24">
      <!-- Pinterest icon SVG path -->
    </svg>
    Save
  </button>
</div>
Step 2: Style with CSS
Use CSS to position the button and make it appear on hover.
.pin-container {
  position: relative;
  display: inline-block;
}

.pinterest-save-btn {
  position: absolute;
  top: 12px;
  right: 12px;
  transition: all 0.3s ease;
  /* Add your custom button styles here */
}

.pin-container:hover .pinterest-save-btn {
  opacity: 1;
}
Step 3: Add JavaScript Functionality
function pinImage(imageUrl, description) {
  const pageUrl = window.location.href;
  const pinterestUrl = `https://pinterest.com/pin/create/button/?url=${encodeURIComponent(pageUrl)}&media=${encodeURIComponent(imageUrl)}&description=${encodeURIComponent(description)}`;
  window.open(pinterestUrl, "pinterest-share", "width=750,height=550");
}
Method 3: Third-Party Solutions (ShareFlow Example)
Third-party tools offer the benefits of custom solutions without the development overhead.
Best for: Marketers, bloggers, and businesses who want advanced features without coding
Difficulty: Beginner
Time Estimate: 5-10 minutes
Pros:
- No coding knowledge required.
- Professional customization options.
- Built-in analytics and optimization features.
- Automatic updates and maintenance.
- Free Chrome extension to preview buttons before installing.
Cons:
- Monthly subscription costs for premium features.
- Dependency on third-party service reliability.
Implementation Example (ShareFlow):
Step 1: Account Setup
Create a free ShareFlow account and add your website's domain. This will give you your unique site identifier.
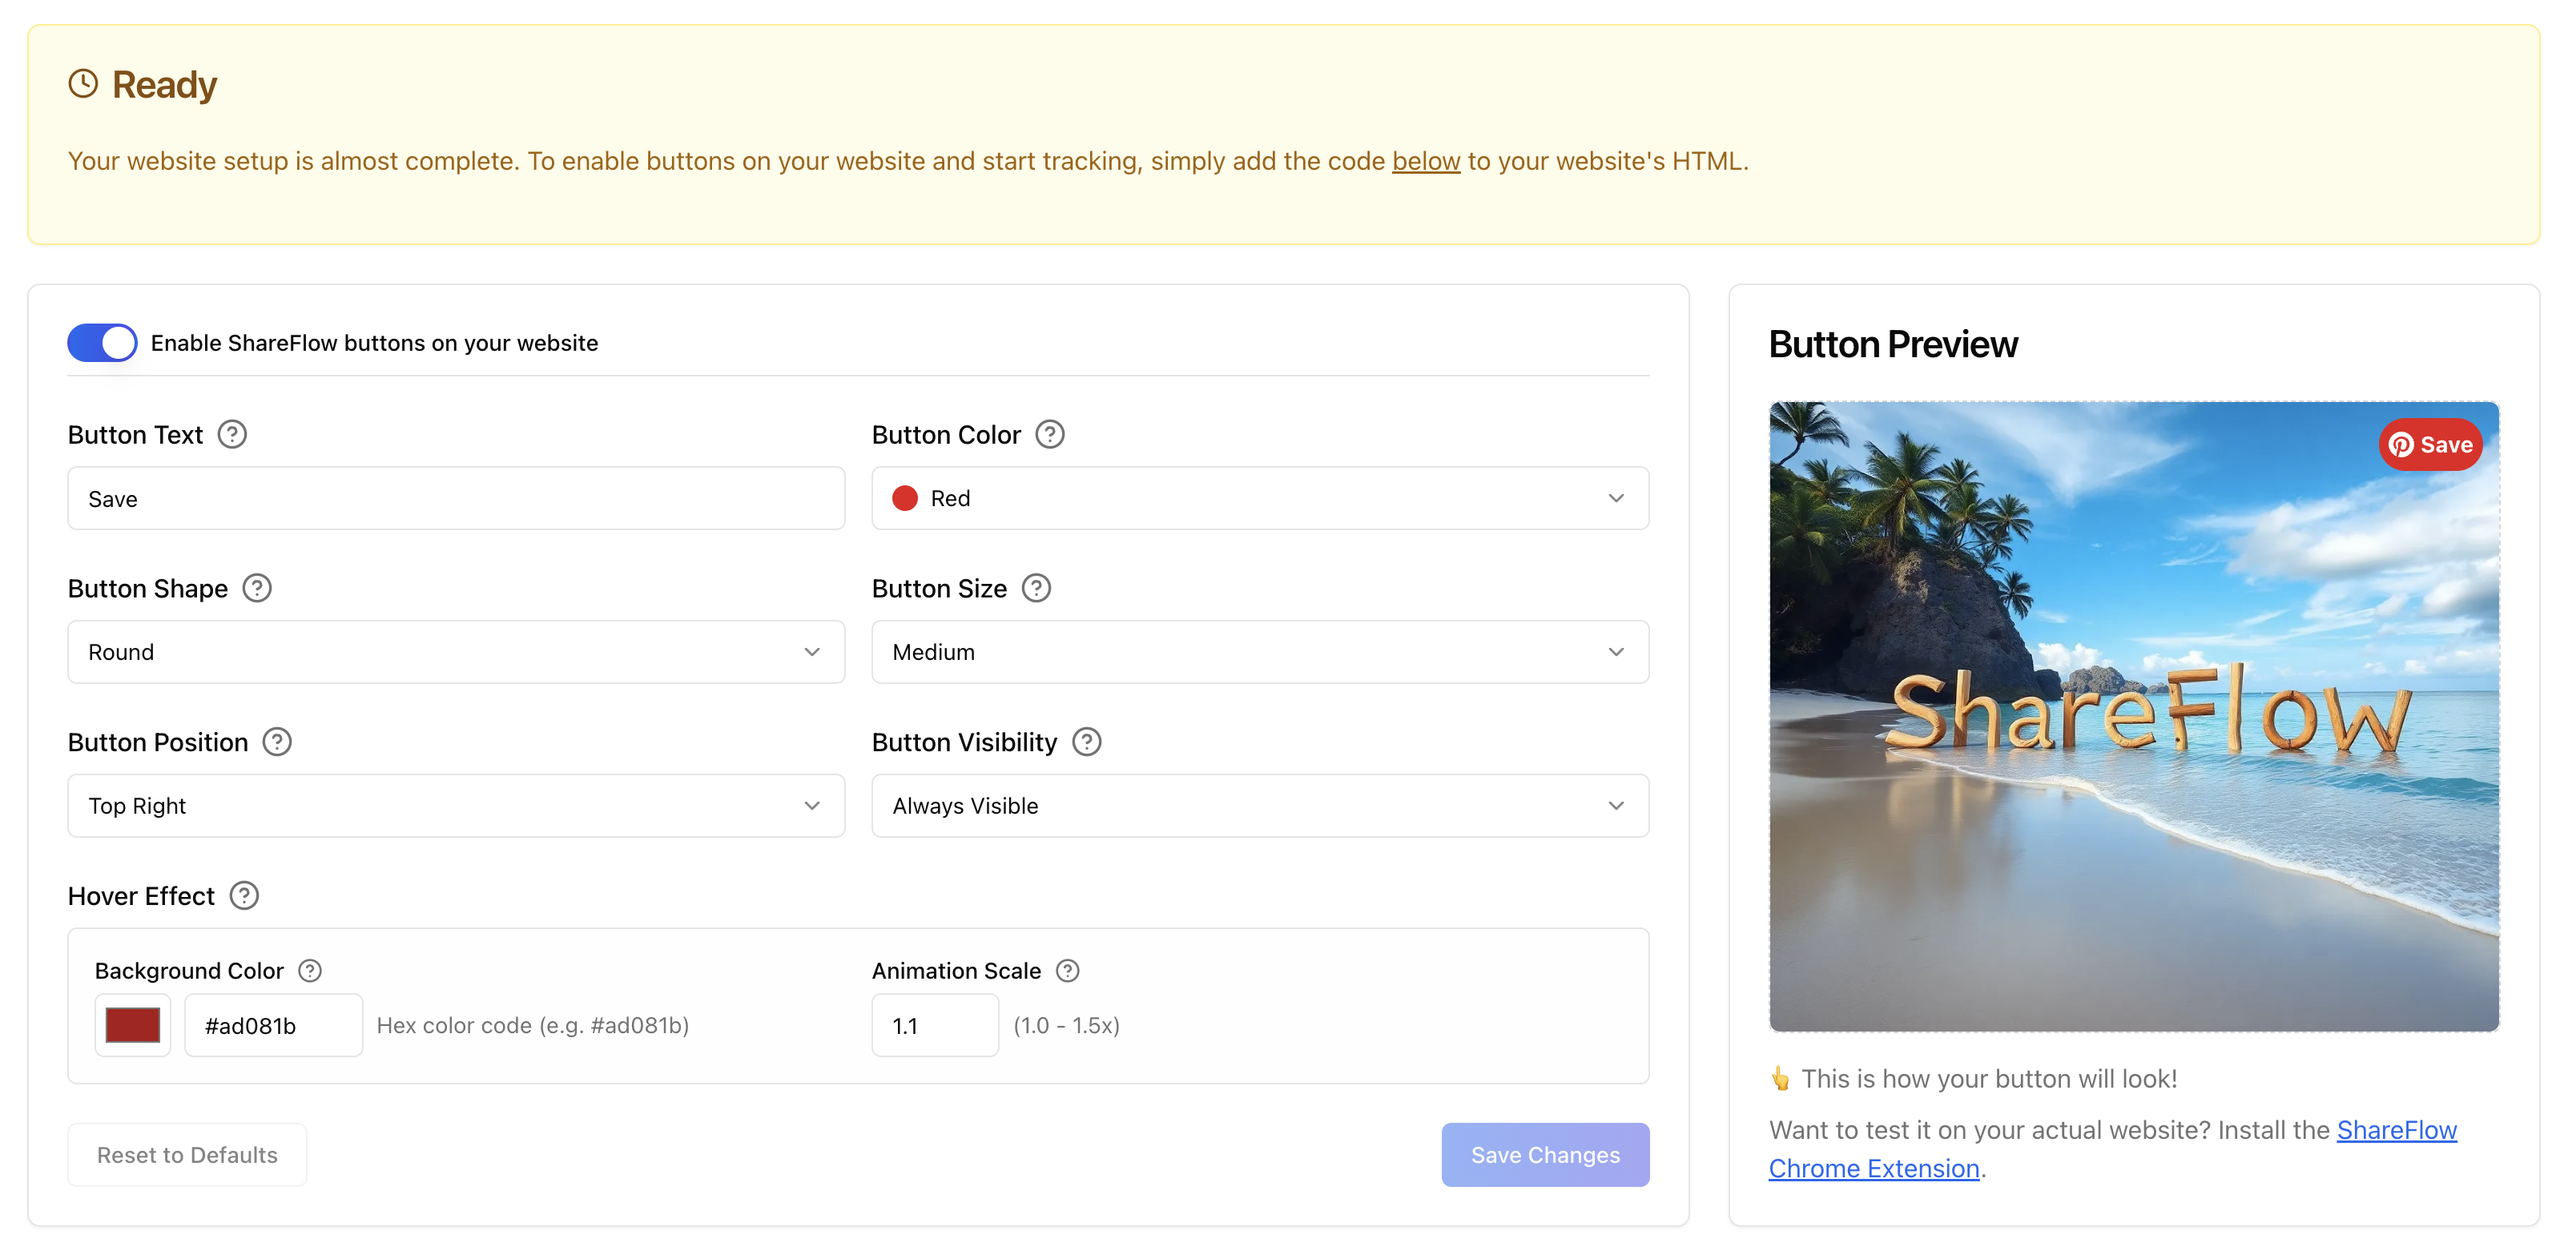
Step 2: Customize Appearance
Use the dashboard to match your brand colors, choose button styles, and set positioning preferences. You can see your changes in a live preview.
Step 3: Install the Code
Add one line to your site's
<head> section:<script
src="https://cdn.shareflowhq.com/js/loader.js"
data-site-id="your-unique-id"
></script>
Choosing the Right Method
Choose the Official Widget if:
- You want a quick, maintenance-free solution
- Your site has moderate traffic (under 50K monthly visitors)
- Brand consistency isn't a top priority
- You're comfortable with basic customization limits
Choose a Custom Solution if:
- You have development resources available
- Brand consistency is crucial
- You need advanced analytics integration
- You want to A/B test different button designs
- You have high traffic and need performance optimization
Choose a Third-Party Tool if:
- You want advanced features without coding
- You need detailed analytics on pin performance
- You plan to scale across multiple websites
- You value ongoing support and updates
Best Practices for Pinterest Save Buttons
Optimize Image Quality: Pinterest favors high-quality, vertical images (2:3 aspect ratio works best). Images should be at least 600px wide.
Write Compelling Descriptions: Use your image alt text strategically—it becomes the default pin description. Include relevant keywords naturally.
Choose Strategic Placement: Hover buttons work well for blogs and galleries. Static buttons are better for product pages where you want to encourage specific actions.
Test Performance: Monitor which images get pinned most often and optimize similar content. Pinterest Analytics (free) shows which of your pins perform best.
Measuring Success
After implementing Pinterest Save buttons, track these key metrics:
- Pin Volume: How many of your images are being saved
- Traffic from Pinterest: Monitor referral traffic in Google Analytics
- Top Performing Content: Which images/pages generate the most pins
- Engagement Quality: Time on site and pages per session for Pinterest traffic
Pinterest's native analytics and Google Analytics will give you these insights. Set up custom events to track button clicks if you want more granular data.
Conclusion
Adding Pinterest Save buttons is a small technical change that can yield significant long-term benefits. The key is choosing the implementation method that matches your technical resources and business goals.
Start with the official Pinterest widget if you're new to Pinterest marketing—you can always upgrade to a more sophisticated solution as your Pinterest strategy matures. The most important step is getting started and making it easy for your audience to share your valuable content.
Remember: the best Pinterest Save button is the one that actually gets implemented. Choose the method you're most likely to successfully deploy and maintain over time.